Specifying pannier mounting for a private-label line means designing hardware that installs in under two minutes and stays put under load. Lock the rack standard, the hook type, and the lower stabiliser with your factory before sampling, because a mount that swings or rubs is the fastest route to returns. Compatibility with common rear racks decides how many bikes your product fits and how broadly a retailer can stock it.
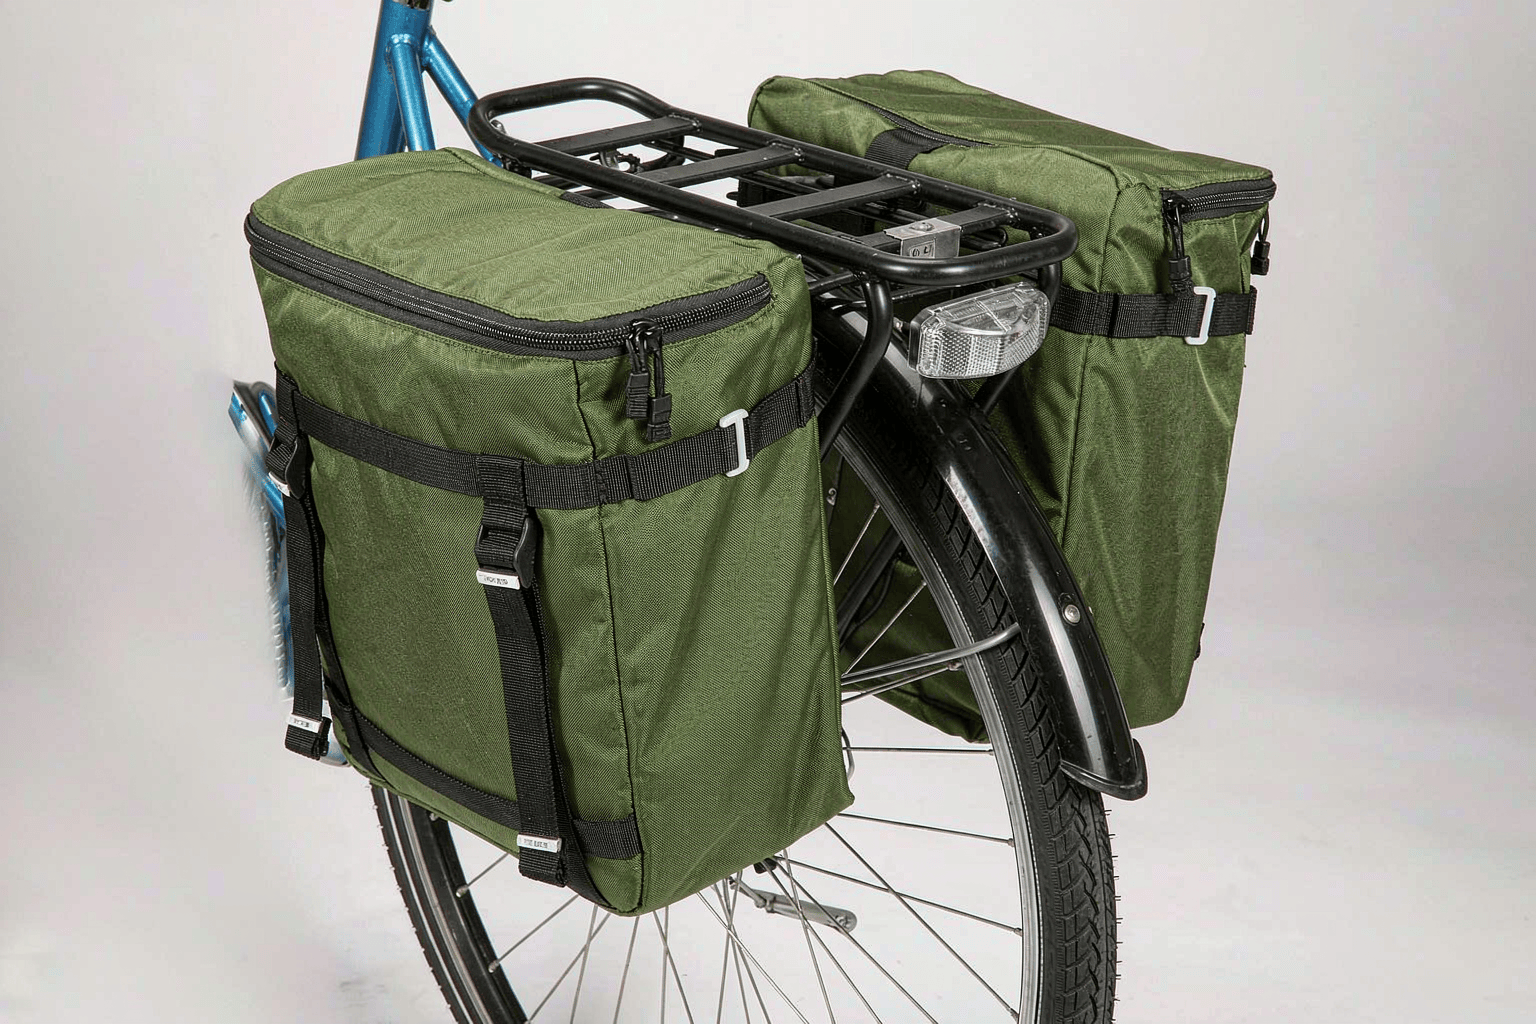
Lock the Rack Standard Before the Bag
Most panniers hang from a rear rack built to a near-universal format: a horizontal top bar and a lower stay roughly 10–16 mm in tube diameter. The bag’s upper hooks must seat on that bar, and the lower retention must catch the stay. Specify the target rack range up front so the hook opening and the stabiliser length match the bikes your buyers actually ride. Front panniers need a low-rider front rack, a different and less common standard, so decide rear-first.
- Rear rack: the default; supports 15–40 L per side.
- Front low-rider: lower, balanced loads; needs its own rack standard.
- Rack-free alternatives: saddle, frame, and handlebar bags for bikes with no eyelets.
Mounting System Types and Their BOM
The mount is the part that fails first if specified cheaply, and it drives most of the tooling cost. The table compares the common systems a factory can build.
| Mount type | Hardware items | Tool-free remove | Best for |
|---|---|---|---|
| Hook + bungee | Top hooks, lower bungee | Yes | Value commuter panniers |
| Sliding rail | Fixed track, sliding foot | Yes | Premium, rock-solid fit |
| Magnetic catch | Magnets, guide rails | Yes | Quick-release city bags |
| Hybrid convertible | Hooks + tuck-away straps | Yes | Pack-pannier combos |
For a first production run, a hook-and-bungee or sliding-rail system is the proven, lower-risk choice. The magnetic and hybrid systems add cost and inspection steps that pay off only at higher price tiers.
Spec the Lower Stabiliser to Stop Swing
The lower stabiliser is the step most often skipped, and it is the one that stops the bag swinging into the spokes. Specify a bungee or a foot that seats against the rack’s lower stay and holds the bag flush to the wheel side, not the curb side. Verify the pull strength at 20 kg+ so the bag does not lift under hard braking.
- Bungee: simple, cheap, needs correct tension spec.
- Foot or clip: more secure, slightly more tooling.
- Adjustment: tool-free tension so riders can fit different racks.
Clearance Checks to Build Into the Drawing
A good mount drawing lists three clearances that prevent the most common complaints. Build them into the tech pack so the first sample already passes.
- Heel clearance: the bag must clear the rider’s heel through the pedal stroke; prefer a compact or forward-set shape for small frames.
- Spoke clearance: the lower edge must never enter the wheel; the stabiliser enforces this.
- Ground clearance: when the bike leans, the base should not drag or scuff.
Also confirm the bag clears the chain on the drive side and the brake on the non-drive side, and that left and right units are shaped as labelled.
Front vs Rear Mount Considerations
Front panniers sit lower on a low-rider rack to keep steering stable. The steps mirror the rear, but watch two details: keep the load low and balanced so the handlebar does not feel heavy, and leave full wheel-turn clearance so the bag never contacts the fork or brake caliper. Fit front bags slightly tighter than rear ones, because front-wheel movement amplifies any slack.
Shell Fabric and Hardware Around the Mount
Around the mount, use 600D–1680D polyester or nylon with a PU or TPU coating of 0.15–0.3 mm. The mount panel itself should be a reinforced or moulded base so the hooks do not tear the shell under load. Specify self-repairing coil zips, bar-tack at every anchor with double stitch rows, and 8–10 SPI at load-bearing seams.
- Zips: coil #5–#10 by opening size; a recognised self-repairing coil.
- Base: reinforced or moulded panel to take floor contact.
- Reflective trim: a welded band for low-light visibility.
Compliance follows the standard rules: REACH for the EU, Prop 65 for US retail, with OEKO-TEX Standard 100 and GRS supporting audits and recycled claims.
QC Checks for the Mount
Write QC into the purchase order. Use AQL 2.5 for major defects and AQL 4.0 for minor, with inline checks at 20% and 80% production plus a final audit. Add mount-specific tests that mirror real use.
- Hook-pull test at 20 kg+ at the rack hooks.
- Stabiliser retention test under simulated braking load.
- Zip-cycle test of 5,000+ openings.
- Seam-leak test on waterproof builds.
- Final AQL inspection before carton sealing.
MOQ, Lead Time, and Packaging
A typical pannier program runs a MOQ of 300–1,000 units per colorway, with a development sample in 7–12 days and bulk lead time of 35–55 days after approval. Because the mount hardware is the long-lead item, source hooks and stabilisers early. Cartons are bulky relative to weight, so confirm dimensions with your forwarder to keep freight sane.
Because bulk lead time of 35–55 days plus ocean transit of 25–40 days puts a restock two to three months out, plan reorders alongside the first run and keep the approved sample, test reports, and spec sheet on file.
How to Brief a Factory on a Mount
Send a one-page spec: target rack standard, mount type, hook opening and stabiliser length, shell denier, coating and waterproofing method, hardware grade, clearance requirements, compliance marks, QC plan, MOQ, and target landed cost. A technical drawing of the mount with the three clearances dimensioned removes the sampling error that costs the most time.
Get a Custom Bag Quote
With the rack standard, mount system, hardware, and QC plan defined, the next step is a manufacturability review. Send your tech pack for a costed quote and a realistic lead-time window: Request a quote →
For model-by-model picks, see Best pannier bag commuting.
Frequently Asked Questions
What rack standard should a pannier mount support?
Target the common rear rack format: a horizontal top bar with a lower stay around 10–16 mm in tube diameter. The upper hooks seat on the bar and the lower stabiliser catches the stay. Front panniers need a separate low-rider front rack standard.
How do I stop a pannier from swinging into the spokes?
Specify a lower stabiliser, bungee or foot, that seats against the rack’s lower stay and holds the bag flush to the wheel side. Verify the pull strength at 20 kg+ so the bag does not lift under braking.
What denier fabric suits a commuter pannier?
900D–1200D polyester covers most lines, with 1680D ballistic nylon for heavy daily use and 600D for light city bags. A PU or TPU coating of 0.15–0.3 mm provides water resistance.
What compliance marks apply to EU and US panniers?
For the EU, REACH conformance for dyes and coatings is baseline, with OEKO-TEX Standard 100 supporting audits. For US retail, Prop 65 limits apply to certain phthalates and lead. GRS helps if you specify recycled content.
What MOQ is typical for custom panniers?
Most programs start at 300–1,000 units per colorway. The mount hardware is the long-lead item, so source hooks and stabilisers early to protect the lead time.
How long does sampling and bulk production take?
A development sample usually takes 7–12 days. After approval, bulk production runs about 35–55 days, depending on order size, hardware sourcing, and waterproof testing.
Buyers comparing suppliers can review our bicycle bags for OEM/ODM specs, materials, and MOQ.