Ask a buyer what fails first on a bag and the answers are usually zippers, straps or coating. Ask a line supervisor and the answer is often the binding — the narrow tape folded over every raw edge inside the bag. It costs a few cents a metre and rarely reaches a spec sheet, yet it is the trim that rubs and unravels most.
What binding actually does
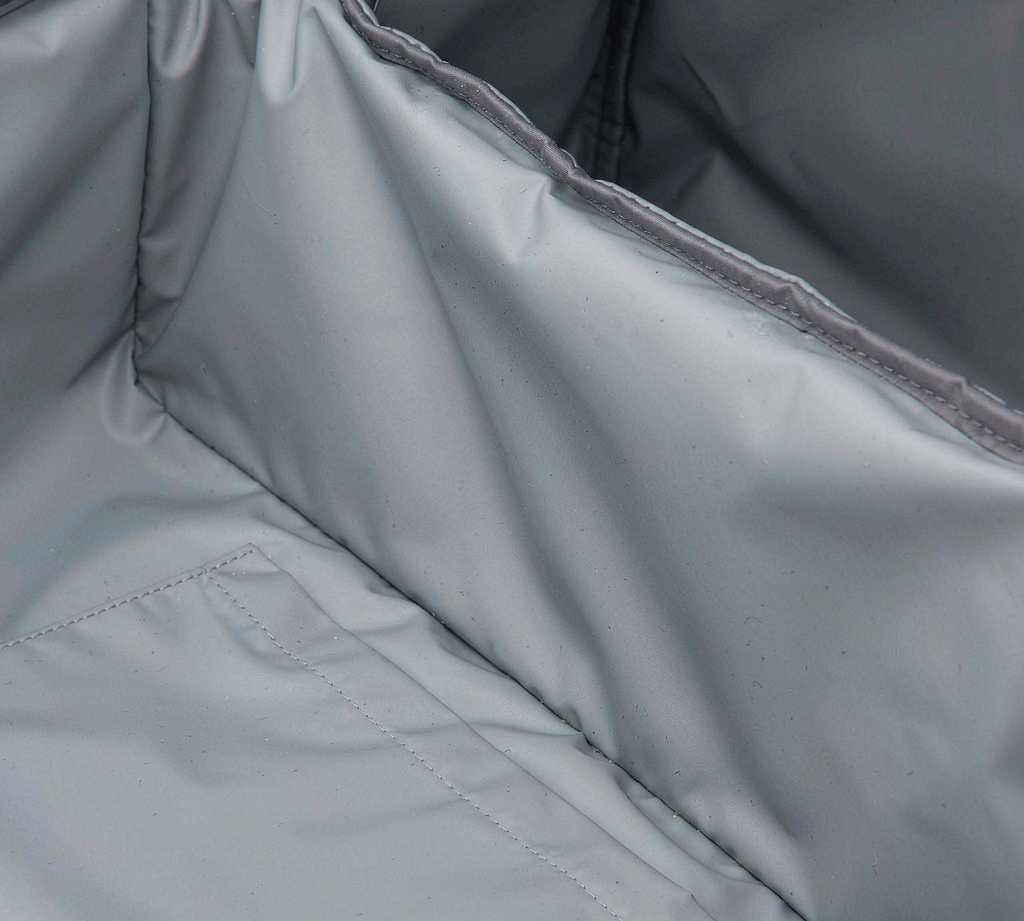
Every panel cut from woven fabric leaves a raw edge that will fray if nothing covers it. Binding encloses that edge and becomes the wear surface at the same time. The mouth of a stuff sack, the top of an interior pocket, the allowance along a zipper channel — these absorb more abrasion than almost anything else on the product.
A wrapped handle is finished the same way — our bag handle construction guide covers how the webbing wrap is sewn so a handle does not fray.
Choosing the tape: material comes first
Polyester grosgrain is the default: the tight ribbed weave resists abrasion, holds a fold and is cheap at volume. Nylon has a softer hand and drapes better around curves, but can glaze under a hot needle. Cotton twill suits canvas totes because it takes dye the way the shell does, which eases shade matching. PVC or PU-coated tape wipes clean and fits cooler bags, though it is stiff and will not ease around corners.
Whichever you pick, the tape has to behave like the fabric beside it. A binding that shrinks at a different rate puckers after washing; one dyed separately drifts off the shell shade. Both are cheaper to catch at material selection than after a run is sewn — the same discipline used on a body fabric spec applies to trim.
Straight-cut or bias
Straight-cut tape is cut along the grain. It is stable, cheap and wastes almost nothing, but it has no give: bind a convex curve and it puckers, bind a concave one and it bridges.
Bias tape is cut at 45 degrees to the weave, which gives it mechanical stretch so it eases around curves and turns corners cleanly. The trade-offs are yield loss, higher cost per metre and distortion if an operator feeds it under tension.
The rule is simple: flat edges take straight-cut tape happily, while rounded flaps, gusset corners and curved openings need bias.
Width, fold and how it goes on
Suppliers quote flat tape width; what the customer sees is the finished width after folding. Specifying only one is the usual source of “the sample looked different” arguments. A 22 mm flat tape folded double finishes around 10–11 mm — fine for light bags, while duffels and outdoor packs go wider.
Double-fold tape has both edges turned under, often supplied pre-folded, giving a consistent edge and two layers over the raw edge. Single-fold tape leaves the operator to turn the second edge by hand as it feeds: cheaper in material, slower and less consistent.
Attachment is either a single pass with a binder foot, or two passes — stitch to the face, fold over, topstitch from outside. Two-pass costs more minutes but gives the straight face stitch line that reads as quality. Either way it depends on thread and stitch density being specified, not left to the line.
Where piping earns its keep
Piping is cord wrapped in a fabric sleeve and sandwiched into a seam. Binding covers an edge; piping outlines one. It adds definition, stiffens a floppy panel and hides a seam line. Cord around 3–5 mm turns corners reasonably; thicker and corners get lumpy.
Piping does not add strength — a piped seam is no stronger than the seam under it. If load has to go somewhere, that is a reinforcement problem, not a trim problem.
Writing the spec so the sample matches production
A binding line item that survives sampling needs tape material, flat width and finished width, straight or bias per panel, fold type, attachment method, thread and stitch density, and the end finish. Ends should overlap and be bar-tacked rather than butted, because a raw butt joint is where fraying starts.
Decide early whether an edge needs binding at all — serging or a turned-and-topstitched finish costs fewer minutes. On a high-volume SKU with a rarely seen interior that saving is real, but it belongs in the tech pack, not as a line-side substitution. A lining fabric guide helps when judging how finished an interior needs to be.
Failure modes worth checking on a sample
Tunneling shows as a loose ridge along the binding: the face stitch missed the back fold, so the tape is held on one side only. Wavy binding means the tape was fed under tension. Bubbling at corners points to too little ease or a tape too stiff for the radius. Fraying at the ends means the end finish was skipped, and a shade shift after washing means tape and shell came from different dye lots.
All five are visible on one sample if you know to look, and none are fixable after the carton ships. For a wider view of how trim sits alongside shell and hardware choices, see how to choose bag material.
FAQ
Is bias binding always better? No. It costs more per metre and handles less predictably. Use it where the edge curves; straight-cut tape is better value on flat edges.
What finished binding width should I spec? Around 10–12 mm for light bags, wider for duffels or outdoor packs. Give flat and finished width together.
Can the shell fabric be used as binding? Yes, and it solves shade matching. It is more labour-intensive and less abrasion-resistant than purpose-made tape, so it suits visible edges over high-wear ones.
Does piping make a seam stronger? No. It is decorative and adds slight stiffness. Load-bearing seams need reinforcement, not trim.
Buyers comparing suppliers can review our full bag catalog for OEM/ODM specs, materials, and MOQ.